
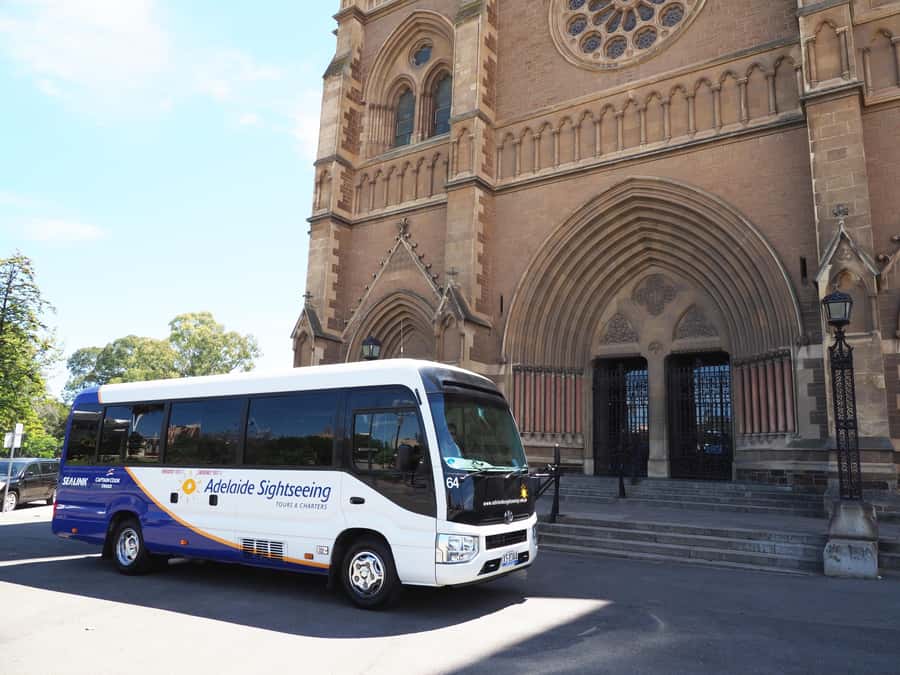
Reviewed · ADELAIDE CITY SIGHTSEEING TOURS
Adelaide City Highlights Tour
Adelaide is small enough to learn fast, if you pick the right loop. This Adelaide City Highlights Tour is built for getting your bearings quickly: a guided drive past North Terrace parklands and North Adelaide, plus short photo-and-walk time at the city’s biggest landmarks. I especially like how the tour pairs live local commentary with a real indoor stop at the National Wine Centre. One possible drawback: the schedule is tight, so if you want lots of slow wandering, you may feel like you’re mostly riding between stops.
If you enjoy city orientation—architecture, neighborhoods, and a couple of signature sights—this format works. The included time at the Wine Discovery Journey Museum gives you something tangible to do, not just a quick look through a gift shop. Still, there are trade-offs: depending on timing, St Peter’s Cathedral may be limited, and one review flagged that the coach can feel snug.
In This Review
- Key highlights and what they mean for your day
- How a 3-hour Adelaide loop helps you get your bearings
- Starting point and pickup: easy to join, simple to finish
- The cultural precinct pass on North Terrace: where Adelaide keeps its institutions
- North Adelaide’s tree-lined streets: seeing the city’s older face
- National Wine Centre stop: museum time that isn’t just a photo break
- Adelaide Oval: a quick taste of the stadium city
- St Peter’s Cathedral versus Adelaide Oval: plan for a flexible finish
- Comfort on the coach: air-conditioning helps, but space can vary
- Live guides and the value of real local facts
- Price and value: what $62 gets you in real terms
- Who should book this tour—and who might want more time
- Should you book the Adelaide City Highlights Tour?
- FAQ
- Where does the tour start?
- How long is the Adelaide City Highlights Tour?
- Is entry to the Wine Discovery Journey Museum included?
- Do you get time to explore Adelaide Oval on foot?
- Is morning tea included?
- Does the tour run on Christmas Day?
Key highlights and what they mean for your day
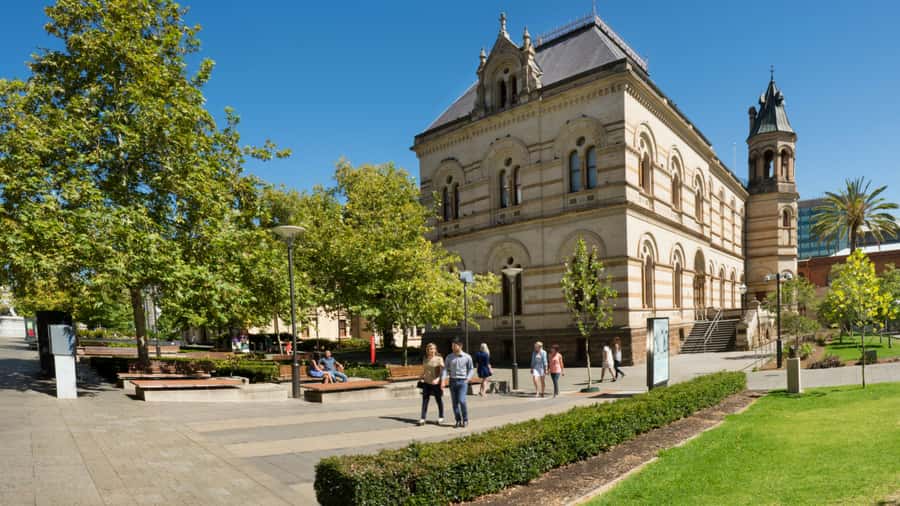
- North Terrace drive-by orientation: You see the University, Library, Art Gallery, and Museum from the road, so you understand Adelaide’s “culture strip” in one pass.
- North Adelaide’s old streets: Tree-lined lanes, mansions, and historic buildings help you picture where the city’s character comes from.
- National Wine Centre museum entry: You get free time inside the Wine Discovery Journey Museum, plus coffee or tea during that stop.
- Adelaide Oval photo-and-walk window: Short but useful—enough time to take photos and stretch your legs.
- St Peter’s Cathedral, if timing allows: It’s a bonus stop when available, otherwise Adelaide Oval becomes the closer focus.
- Clean, air-conditioned coach with live guide talk: You’re not stuck in silence, and the comfort helps on a 3-hour loop.
The whole city in a sweep, other ways to see it
- McLaren Vale and Glenelg Wine Tasting and Sightseeing (Half-day Afternoon)★ 5.0 · 369 reviews
- Adelaide City Highlights- Mt. Lofty & Hahndorf Half-Day Tour★ 4.5 · 68 reviews
- Barossa and Hahndorf Wine Tasting and Sightseeing Tour★ 5.0 · 49 reviews
- Adelaide City Highlights Tour★ 4.3 · 30 reviews
- Adelaide City Highlights Half-Day Tour, Mt Lofty & Hahndorf★ 3.8 · 25 reviews
How a 3-hour Adelaide loop helps you get your bearings
Adelaide can feel spread out, but it’s also a city you can “read” if someone points out what to look for. This tour is designed like that: you spend most of the day moving through key corridors, with stops that are short but purposeful. At 3 hours, it’s ideal for the first morning you arrive (or the day before you plan your own longer walks).
The big advantage is pacing. Instead of one long museum day, you get a blend of street-level sights and a focused indoor experience. You’ll pass areas tied to education and the arts, then shift into older residential lanes, and finish with two landmarks most people associate with Adelaide’s modern identity.
Price matters in a tour like this. At $62 per person, you’re paying for more than transport. You get hotel pickup from selected Adelaide hotels, a live English driver/guide, air-conditioned coach seating, and entry to the Wine Discovery Journey Museum. That inclusion is the difference between a “pretty drive” and a day with a real activity built in.
Starting point and pickup: easy to join, simple to finish
This tour meets at Adelaide Central Bus Station on Franklin Street, inside the station by the bus bays entrance. If you’re doing the self-guided part of your trip, this is a handy hub because it’s easy to connect to other plans without a complicated meeting ritual.
If you’re staying in a participating area, morning pickup from selected hotels is included. That can be a big deal in Adelaide, where one suburb can feel like a longer hop than you expect—especially if you’re traveling on foot or with luggage.
One more practical note: you’re not doing a long out-and-back day. The tour is set up to return to the same central bus station location, so you don’t end up stuck figuring out how to get back across town.
The cultural precinct pass on North Terrace: where Adelaide keeps its institutions
The drive portion is a major part of the value because it gives you context fast. You’ll travel past North Terrace, where you can spot a cluster of institutions tied to learning, art, and public life. From the road, you’ll pass the University, the Library, the Art Gallery, and the Museum.
Even if you don’t step inside any of them on this tour, it helps you map Adelaide’s priorities. You start to understand why locals point newcomers toward this corridor: it’s where the city concentrates education and culture in a clean, wide, easy-to-see area.
I also like that the parklands aren’t an afterthought. You’ll see the Adelaide Botanic Gardens and Botanic Park, including the Bicentennial Conservatory and Adelaide Zoo, as you move through the green space around the city center. On a short visit, those names matter because they help you decide what to do next once you’ve got your mental map.
Bigger loops across town


North Adelaide’s tree-lined streets: seeing the city’s older face
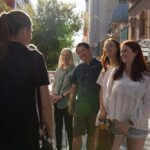
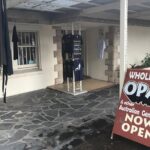
After the North Terrace pass, the route shifts into historic North Adelaide. This is where the tour feels more like a neighborhood orientation than a list of monuments. You’ll see tree-lined streets, mansions, and historic buildings—details that can be hard to notice if you’re only driving or only walking around one corner.
Why this is worth your time: older residential streets teach you what the city looks like beyond the museum-and-garden landmarks. It also gives you a better sense of where cafes, small shops, and slower-paced strolling might feel natural later on.
If you’re the type who likes architecture cues, this portion will help. It’s not about stopping for hours; it’s about learning what to look for when you step out on your own afterward.
National Wine Centre stop: museum time that isn’t just a photo break
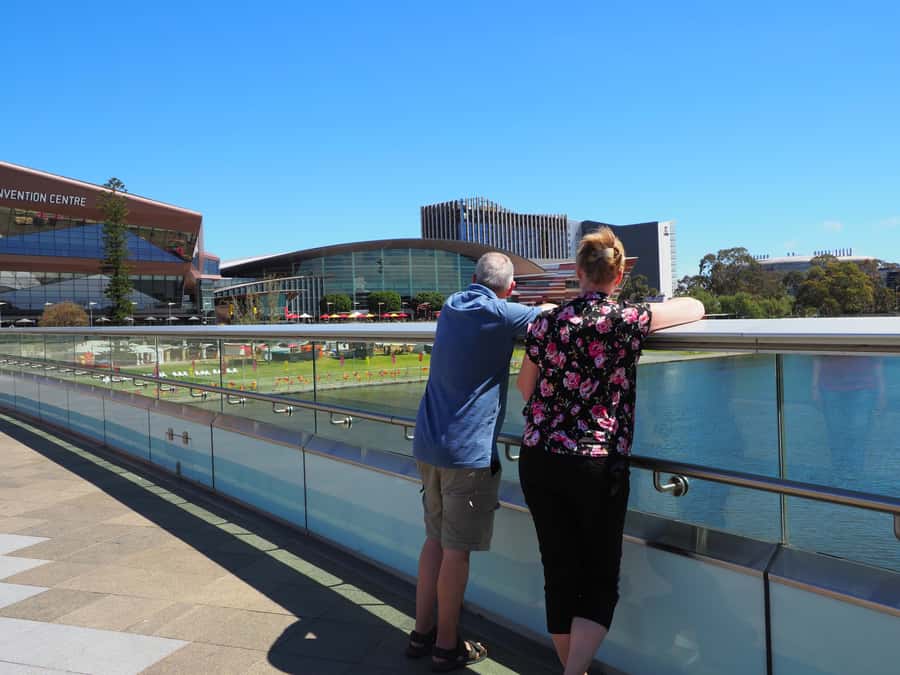
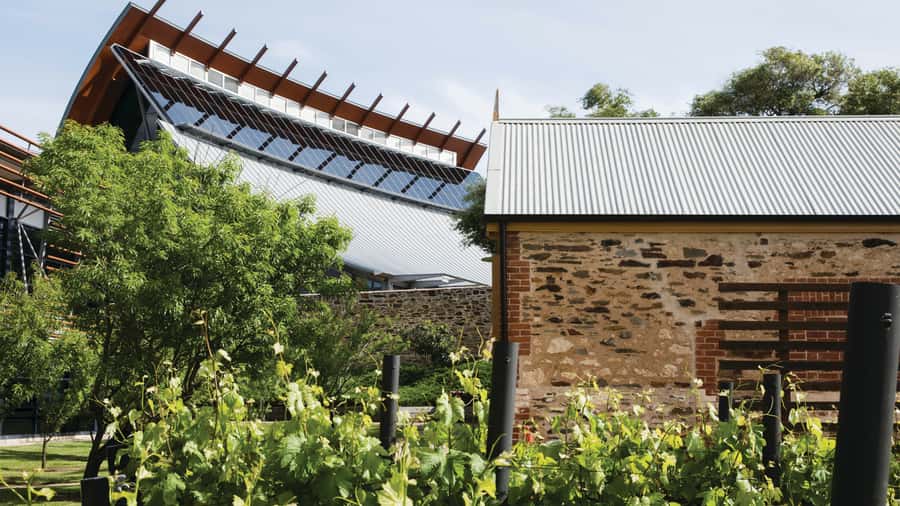
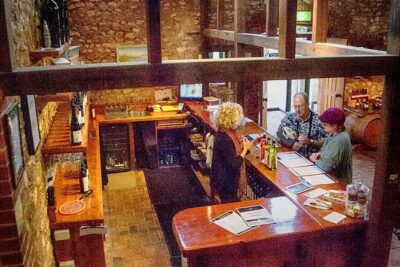
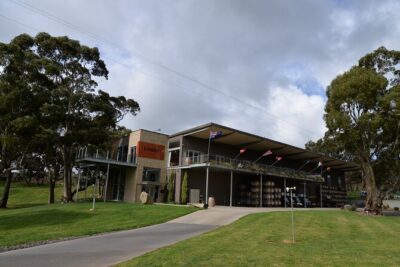
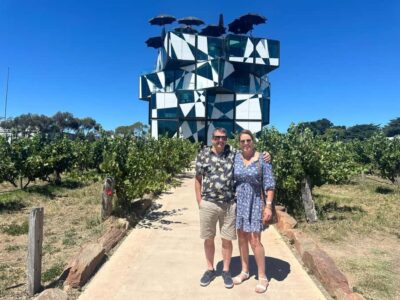
This is the tour’s clearest “stand still” moment. You’ll stop at the National Wine Centre of Australia and get coffee or tea, plus free time to explore the Wine Discovery Journey Museum for about 30 minutes. Museum entry is included, which is one of the reasons this tour tends to feel more worthwhile than some city highlight loops.
Here’s the practical way to use this time. Don’t try to rush every exhibit. Pick a couple of areas that match your curiosity—whether you’re more interested in how wine is made or how South Australia’s wine story connects to place. With only half an hour, your goal is to leave with a few ideas you can follow up on later if you want a winery day.
I like that this stop isn’t just an excuse to buy souvenirs. It’s an indoor experience that gives the broader “food and wine” reputation of Adelaide some substance. And since you’re already in the area, it sets you up well for future self-guided wandering around the precinct.
One small thing to note: morning tea is not included beyond what’s part of the stop, and you may still need to plan around what you eat on the way. If you’re sensitive to timing, consider having breakfast before you go.
Adelaide Oval: a quick taste of the stadium city
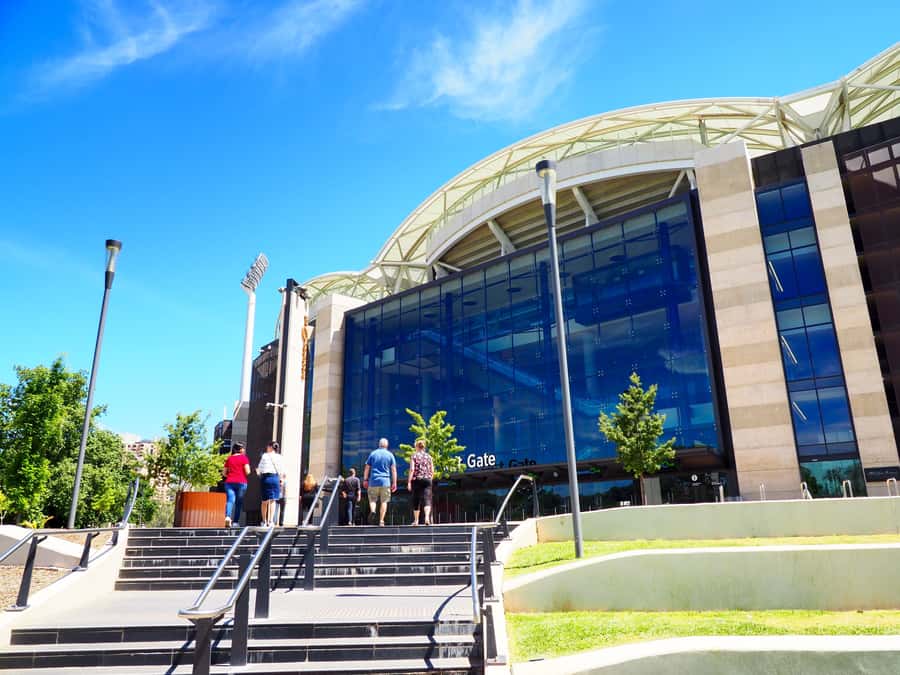
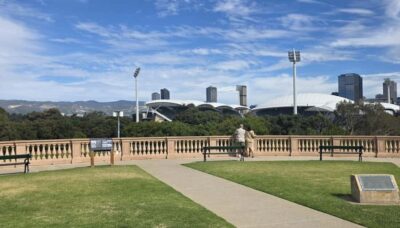
Next comes Adelaide Oval with a photo stop and free time, plus a short walk window of around 30 minutes. Even if you’re not a sports fanatic, you’ll recognize why this place matters: the oval is one of the city’s most visible public symbols, and it helps you understand how Adelaide holds onto both tradition and modern momentum.
I also think the “photo stop + walk” structure is smart. You get enough time to walk around and take photos from a few angles, without it turning into a half-day detour.
If your priority is dramatic architecture or views, you’ll likely do fine with this timing. If your priority is to go deep—say you want to see everything inside—you may feel like you’re scratching the surface. This tour is set up to show you the highlights, then let you choose what to expand.
St Peter’s Cathedral versus Adelaide Oval: plan for a flexible finish
The tour finishes with St Peter’s Cathedral if available, or the newly developed Adelaide Oval if that timing doesn’t work out. That’s a useful detail to know before you go, because it affects how your final minutes feel.
If St Peter’s Cathedral is included, it adds a different visual mood—more church-and-city-center atmosphere—after the more open, stadium-focused energy of Adelaide Oval. If it’s not available, you’re not left hanging; you still end near the oval area for photos and time on foot.
Either way, the key is mindset: treat this as a guided highlights route, not a checklist where everything is guaranteed every day down to the minute.
Comfort on the coach: air-conditioning helps, but space can vary
This tour uses an air-conditioned luxury coach, and it’s a genuine plus in Adelaide’s heat. One reviewer specifically called out clean transport and good air conditioning, which tells you the company is paying attention to basics.
At the same time, one review flagged that the bus felt tight. If you’re tall, carry a backpack, or prefer extra elbow room, keep that in mind. You may want to choose a seat that gives you the most space possible when you board.
The other comfort factor is attention span: because you’re seated most of the time, the live commentary becomes your moving scenery. You’ll get a running introduction as you pass major spots, and that can turn “just driving” into something you actually listen to.
Live guides and the value of real local facts
One of the most praised parts of this tour is the driver/guide commentary. People have highlighted guides such as Michael and Athol for sharing interesting facts about Adelaide’s past and how the city developed.
That matters because it’s the difference between a tour that points and a tour that explains. When a guide ties what you’re seeing—like North Terrace institutions or North Adelaide’s older streets—to how Adelaide grew, you leave with context. And context is what makes it easier to choose where to return later.
Also, English commentary keeps it accessible. If you like to learn while you move, this setup fits your style.
Price and value: what $62 gets you in real terms
At $62 per person for about 3 hours, you’re paying for a short, guided orientation with one paid attraction component built in. Here’s what’s included based on the tour details:
- Hotel pickup from selected hotels
- Live English commentary
- Luxury, air-conditioned coach transport
- Entry to the Wine Discovery Journey Museum
- Coffee/tea during the National Wine Centre stop
What’s not included is morning tea beyond what you might buy on your own.
Some people believe the tour should cost less, mostly because they wished for more stops and time out of the bus. That’s a fair reaction if you prefer a slow travel pace. But if you treat this as a way to structure your first look at Adelaide, the math can work better than it sounds. You’re essentially combining:
- a guided introduction to the city’s major corridors and neighborhoods, plus
- a museum stop where you aren’t paying extra at the door, plus
- a quick landmark walk where you can take photos and get oriented for later.
Who should book this tour—and who might want more time
This tour is a strong match for you if:
- you’re in Adelaide for a short time and want a fast orientation
- you like having a guide connect places to context
- you want included museum time without planning logistics yourself
- you enjoy food-and-wine culture and want a built-in introduction
You might hesitate if:
- you hate being on a coach for long stretches
- you expect multiple major walking stops beyond a brief Adelaide Oval stroll
- you want a dedicated cathedral-and-church day, not a flexible finish
- you have a strong need for lots of time outdoors
In other words, this tour suits people who want clarity quickly. If you want freedom and long wandering, plan to pair this with your own neighborhood time afterward.
Should you book the Adelaide City Highlights Tour?
I’d book it if you’re arriving in Adelaide and want the city explained in plain language, with a practical route that shows you where things are. The biggest reason: included Wine Discovery Journey Museum time plus a guide-driven drive past the core sights. That combo gives you more than a drive-by checklist.
If you hate tight schedules, make sure your expectations match the format: it’s a 3-hour highlights loop. You’ll see a lot of Adelaide fast, but you won’t have hours to linger at every landmark. For many first-timers, that’s exactly the point.
FAQ
Where does the tour start?
The tour meets at Adelaide Central Bus Station on Franklin Street, inside the station by the entrance to the bus bays.
How long is the Adelaide City Highlights Tour?
The duration is 3 hours.
Is entry to the Wine Discovery Journey Museum included?
Yes. Entry to the Wine Discovery Journey Museum at the National Wine Centre of Australia is included.
Do you get time to explore Adelaide Oval on foot?
Yes. There’s a photo stop and free time with a walk for about 30 minutes.
Is morning tea included?
No. Morning tea is not included, but it may be available for purchase.
Does the tour run on Christmas Day?
No. The tour does not operate on Christmas Day.
More Tours in Adelaide
- Barossa Premium Wine Tasting Tour & lunch Departs 7 days a week
★ 5.0 · 1,475 reviews - Adelaide: Barossa Premium Wine Tasting tour & Winery Lunch
★ 4.8 · 1,452 reviews - Adelaide Oval Stadium Guided Tour
★ 4.8 · 760 reviews - Kangaroo Island in a Day Tour from Adelaide
★ 4.5 · 722 reviews - Adelaide: Dolphin Sanctuary Eco Kayaking Tour
★ 4.5 · 560 reviews
More Tour Reviews in Adelaide
- Barossa Premium Wine Tasting Tour & lunch Departs 7 days a week
★ 5.0 · 1,475 reviews - Adelaide: Barossa Premium Wine Tasting tour & Winery Lunch
★ 4.8 · 1,452 reviews - Discover Barossa: 4 Wine Tastings, Gourmet Lunch, and Hidden Gems
★ 5.0 · 1,027 reviews - Adelaide: River Torrens Popeye Sightseeing Cruise
★ 4.6 · 949 reviews - From Adelaide: Barossa to Hahndorf Wine Tasting and Lunch
★ 4.6 · 877 reviews
Adelaide, End to End
- Adelaide: River Torrens Popeye Sightseeing Cruise
★ 4.6 · 949 reviews - McLaren Vale and Glenelg Wine Tasting and Sightseeing (Half-day Afternoon)
★ 5.0 · 369 reviews - Adelaide City Highlights- Mt. Lofty & Hahndorf Half-Day Tour
★ 4.5 · 68 reviews - Barossa and Hahndorf Wine Tasting and Sightseeing Tour
★ 5.0 · 49 reviews - Adelaide City Highlights Half-Day Tour, Mt Lofty & Hahndorf
★ 3.8 · 25 reviews
Just Added: Fresh Adelaide Reviews


Adelaide City Sightseeing Tours, compared.
 ★ 4.6River Torrens Popeye Sightseeing CruiseFrom $19949 reviews
 ★ 5.0McLaren Vale and Glenelg Wine Tasting and Sightseeing (Half-day Afternoon)From $63369 reviews
 ★ 4.6South Australia Guided Full-Day Highlights TourFrom $126298 reviews
 ★ 4.5Adelaide City Highlights- Mt. Lofty & Hahndorf Half-Day TourFrom $8368 reviews
 ★ 5.0Barossa and Hahndorf Wine Tasting and Sightseeing TourFrom $15749 reviews
 ★ 3.8Adelaide City Highlights Half-Day Tour, Mt Lofty & HahndorfFrom $9125 reviews
 ★ 4.5One Day Kangaroo Island Highlights TourFrom $24821 reviews
 ★ 4.5Best of Adelaide- City Highlights (Half-Day Tour)From $8221 reviews
Browse the lists this tour appears in